Uploading to View
View is a web-based model sharing platform. You can upload Leapfrog Geo data to View, visualise the data and organise it into slides. You can also share views with collaborators, all in your web browser, with data saved securely to the cloud. All your collaborators need is a My Seequent ID; a Leapfrog Geo entitlement is not required.
There are two workflows for uploading data from Leapfrog Geo to View, uploading the data currently displayed in the 3D scene and uploading saved scenes. Both techniques are described below, but first it is important to understand how View handles data objects uploaded from Leapfrog Geo.
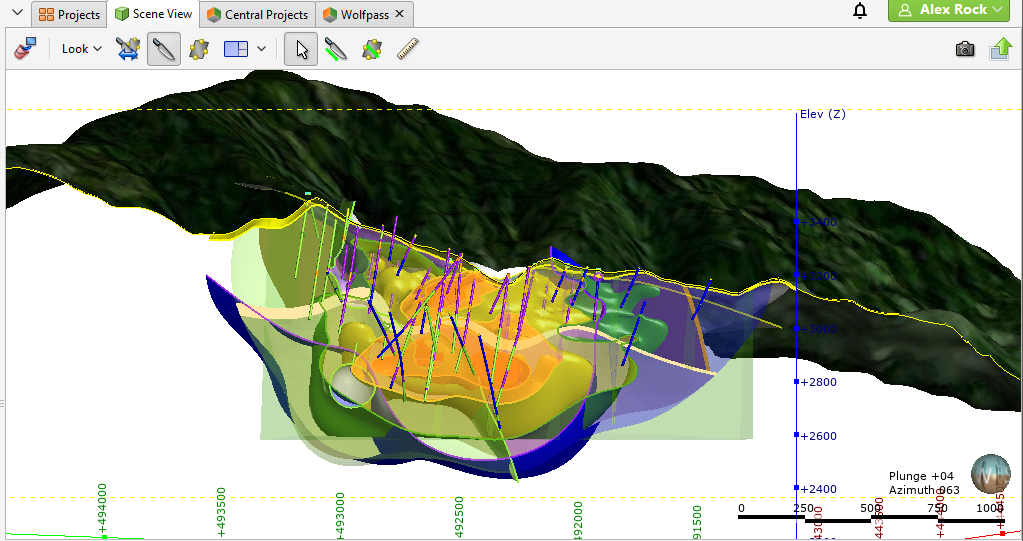
In this Leapfrog Geo scene, we have a number of data objects, including a topography, drilling data, a geological model and its contact surfaces, plus grade shells from a numeric model. Data is sliced.
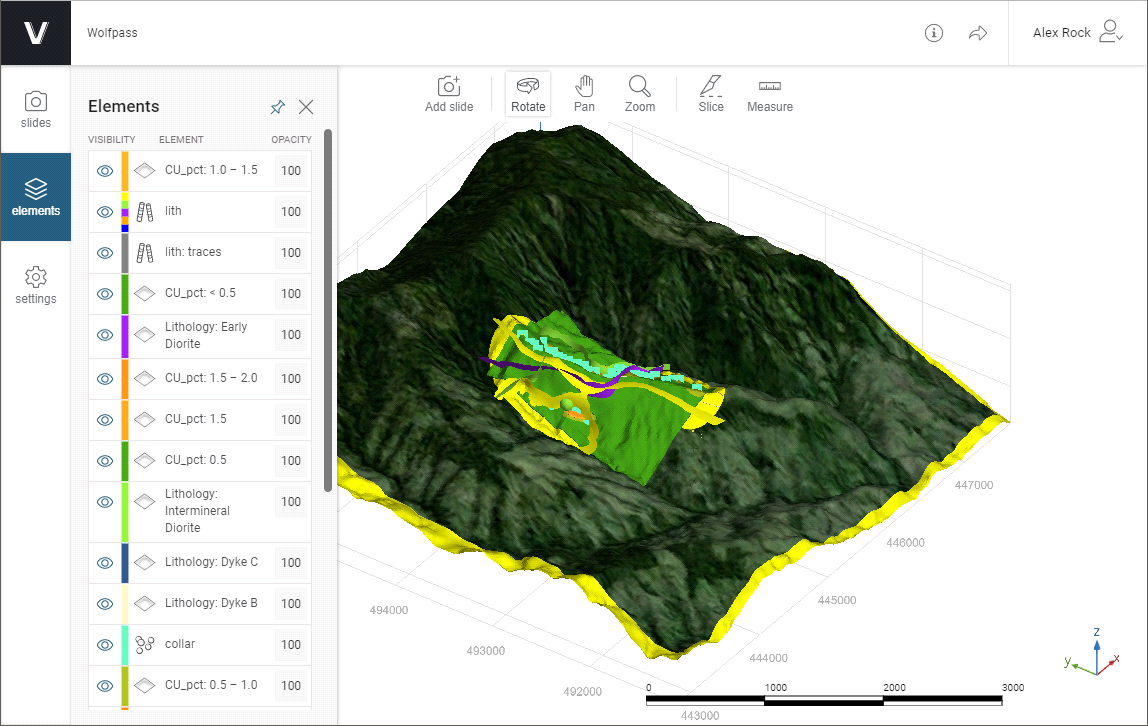
In View, all elements from the Leapfrog Geo scene are displayed in the initial view, which is unsliced. View’s slice tool is similar to the slicer in Leapfrog Geo, and you can also rotate, pan and zoom the view and measure elements.
With the Elements list, you can select which objects to display and how they are displayed:
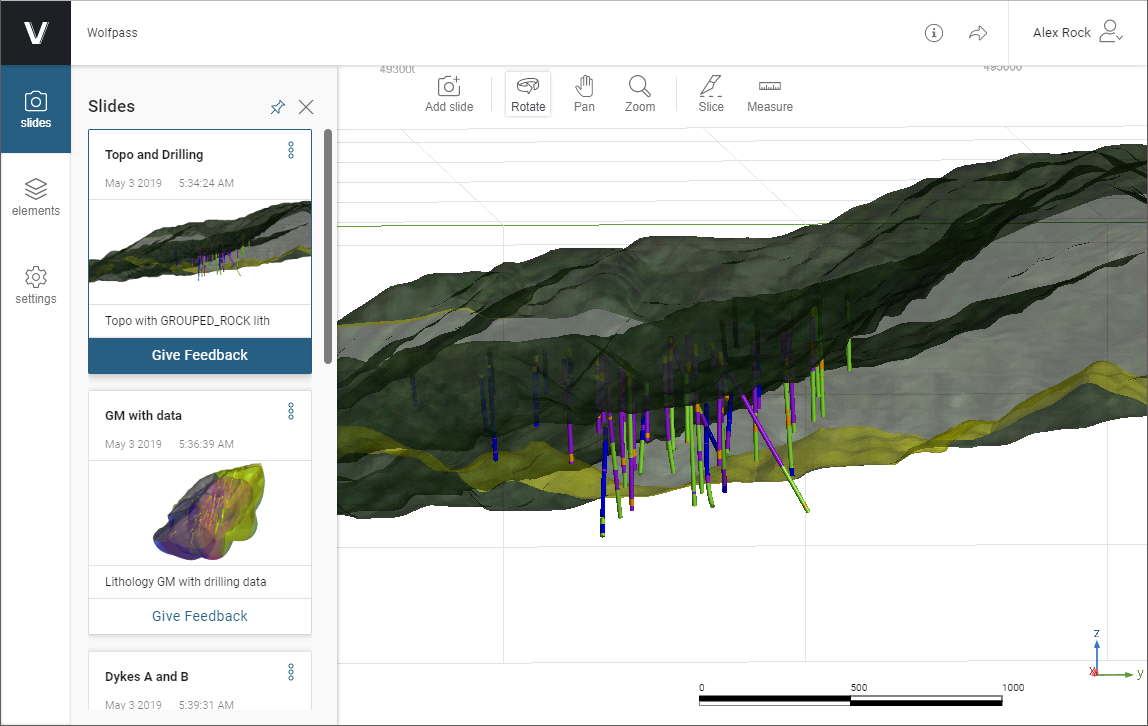
Once you have set up a view, save it as a slide. In this way, you can organise your data to tell a story and invite feedback from collaborators.
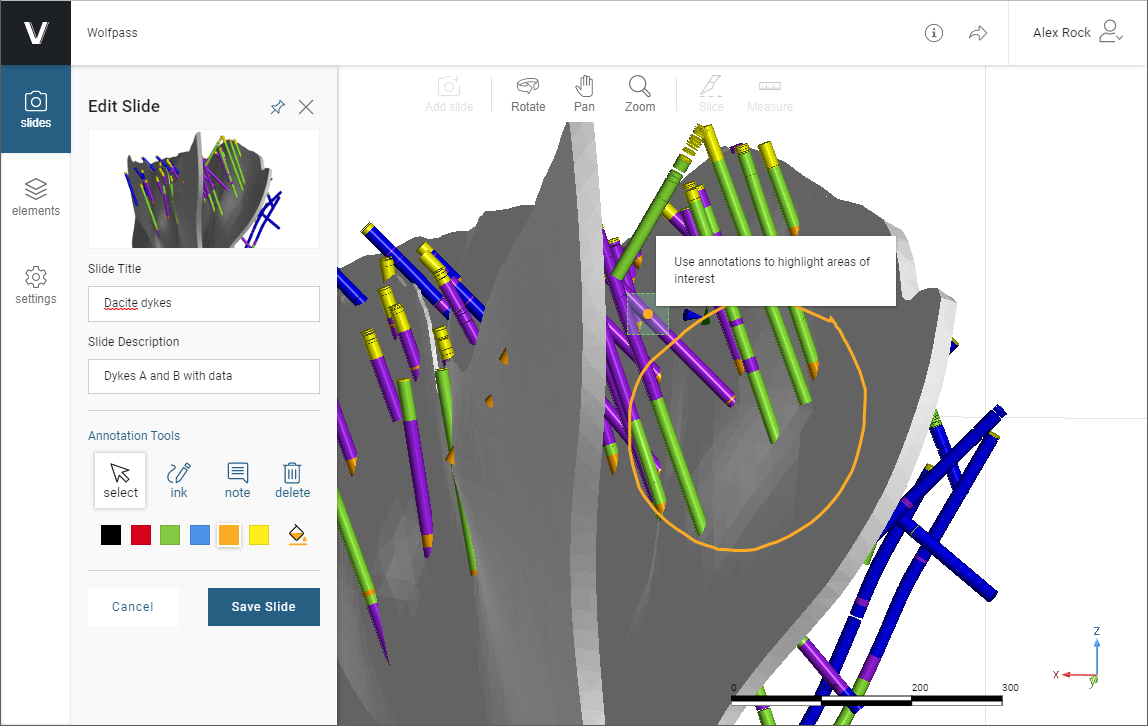
If you have permission to edit the view, you can add feedback and annotations and can create new slides:
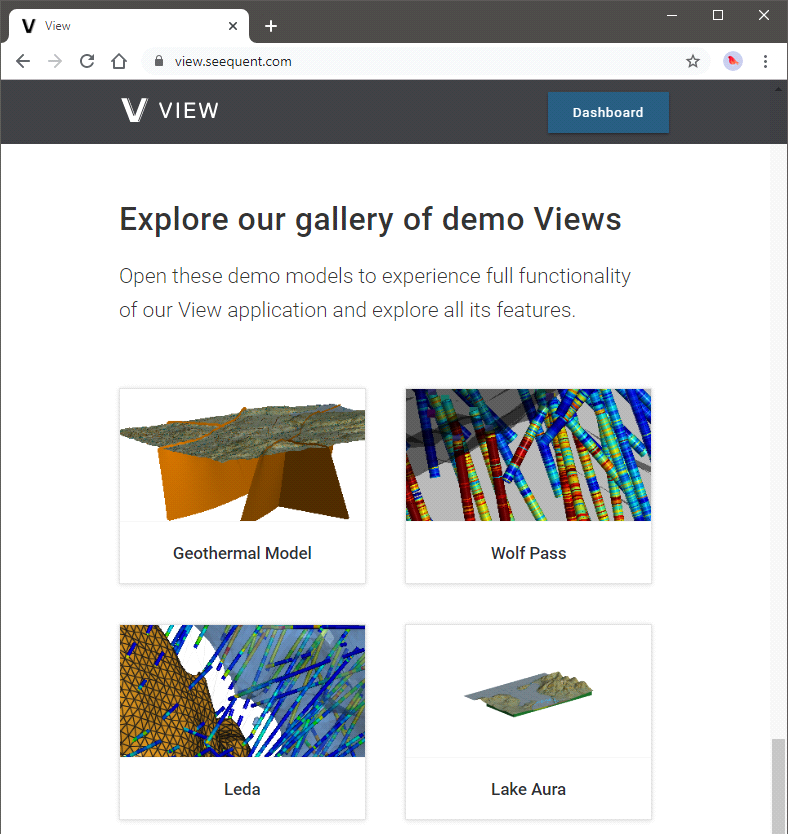
To learn more about using View, visit view.seequent.com, where you can explore the View gallery and see what’s possible:
The rest of this topic describes:
Signing in to View
Signing in to My Seequent via the Seequent ID menu also signs you in to View.
To enable uploading to View, click on the Leapfrog Geo menu and then on Settings > User Interface. Tick the box for Show View upload. The View button (![]() ) will be displayed in the Scene View toolbar.
) will be displayed in the Scene View toolbar.
Uploading to View
There are two options for uploading to View:
- Uploading the current 3D view
- Uploading saved scenes
When selecting the data you will upload to View, think about the slides you wish to make in View.
Uploading the 3D View
The first option for uploading to View is to upload some or all of the objects in the 3D scene. To do this, click the View button (![]() ) in the toolbar:
) in the toolbar:
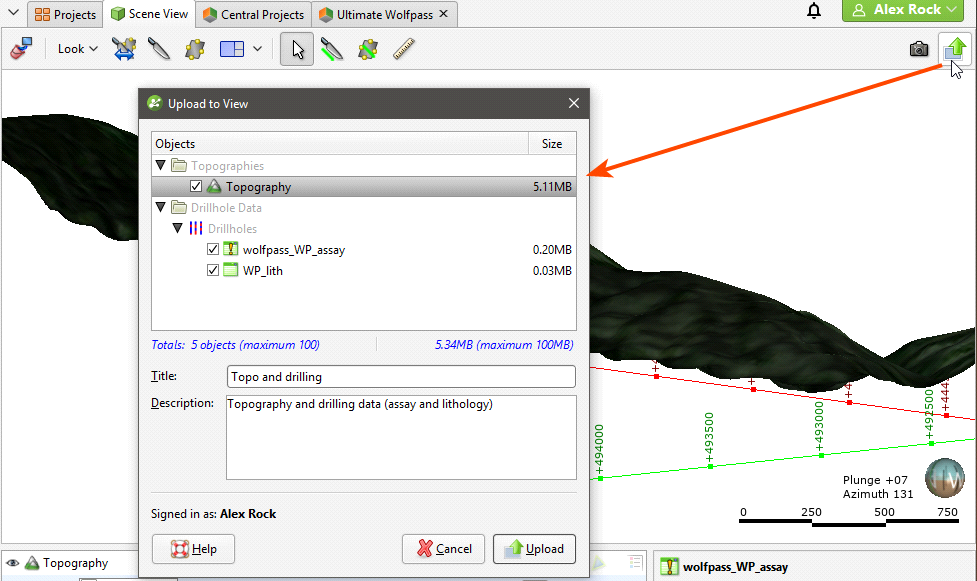
A list of the objects currently in the scene is displayed, along with information about the upload size for each object. Objects that are visible in the scene will automatically be selected, whereas any hidden objects will appear in the list but will not be selected.
If an object in the scene does not appear in the list, it is because the upload of that type of object to View is not supported at this time.
The maximum number of objects and the maximum amount of data that can be uploaded are displayed in the window, so if your scene contains large objects or too many objects, you can select which ones you wish to upload.
When uploading category data columns to View, there is a limit to how many unique codes can be uploaded. If your category data is displaying more than 250 unique codes, consider simplifying your data before uploading to View.
Once you have chosen which objects you want to upload and entered information about the view, click the Upload button.
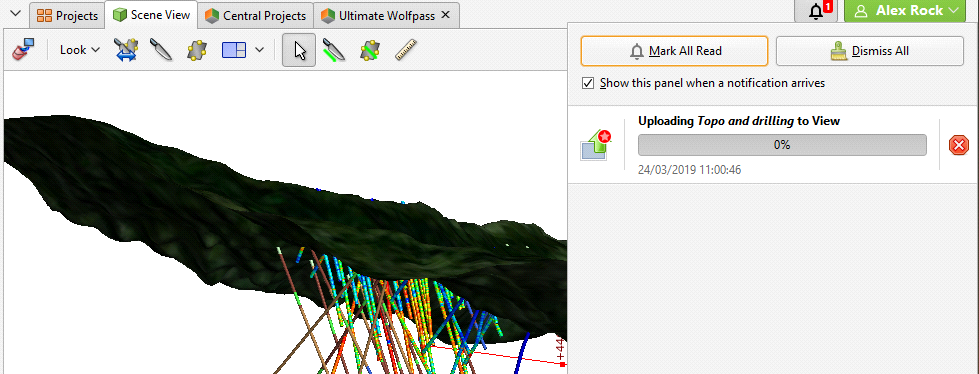
Upload progress is shown in the notifications menu:
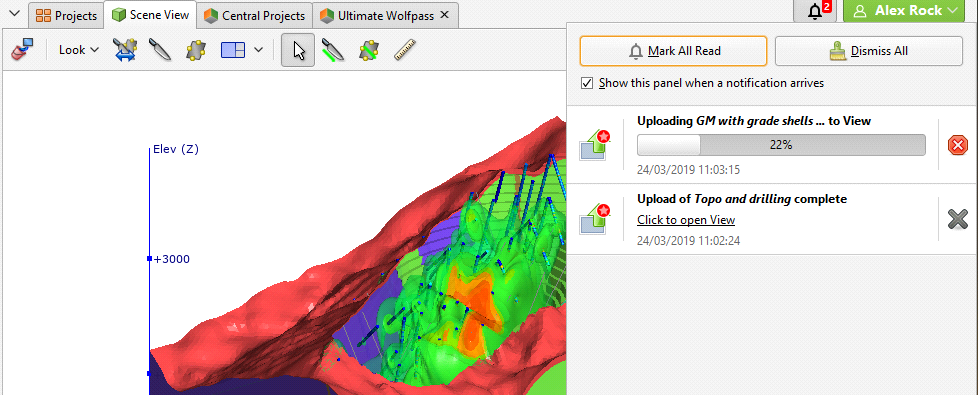
When the upload is complete, a link to View will be displayed in the notification list:
Notifications persist for the duration of your Leapfrog Geo session; all notifications are cleared when you exit Leapfrog Geo.
Uploading Saved Scenes
To upload one of the scenes in the Saved Scenes and Movies folder, right-click on the scene and select Upload to View. The process is the same as described in Uploading the 3D View above.
Troubleshooting Connectivity Issues
Leapfrog Start checks to see if your network will support the connection of Leapfrog web-based services to your desktop applications. If you are having trouble with your connection to View, see Checking Connectivity with Leapfrog Start.
Got a question? Visit the Seequent forums or Seequent support